
Hello all. I wanted to share some pics of the case MOD project I just finished for my Mavic Air 2. I wanted a pro hard case for my rig but I felt like the available models with the die-cut foam; while looking good with their C&C cut inserts; were lacking some essential areas for some of my gear. Not to mention that a Nanuk or Pelican with a custom cut insert would run between $110 and $200 depending on the model.
I saw a few ideas in the Mavic Pilots forum involving die-cut foam hard cases; using Plasti-Dip that looked good. I also found out that Apache cases from Harbor Freight were highly recommended and this is what I came up with.
Apache Watertight Hard Case from Harbor Freight (Construction Orange): With insider track membership/$53.00
4 cans of Black Matte Plasti-Dip @ $6/ea = $24.00
About 8hrs Construction/Paint time + 4 days for Plasti-Dip to cure (10 coats all around)
All in Cost including tax: $82.39
I'm totally impressed with both the end result of the die cut foam as well as the overall construction of the case. When I decided to customize my own foam insert I knew that I wanted to add a few spots for things that weren't provided for in the custom cut inserts that I looked at.
First; I wanted a space for my MavMount. These things are absolutely top end if you like to fly with a tablet instead of your phone. I use an iPad Pro 9.7" and I'm planning on purchasing an iPad Mini after I get my Mavic 2 Pro. They are designed by a guy in the Hollywood Film Industry to provide a stable and balanced platform between controller and tablet and they; in my opinion; outperform any other model on the market. If you're interested in checking them out; here's the link:
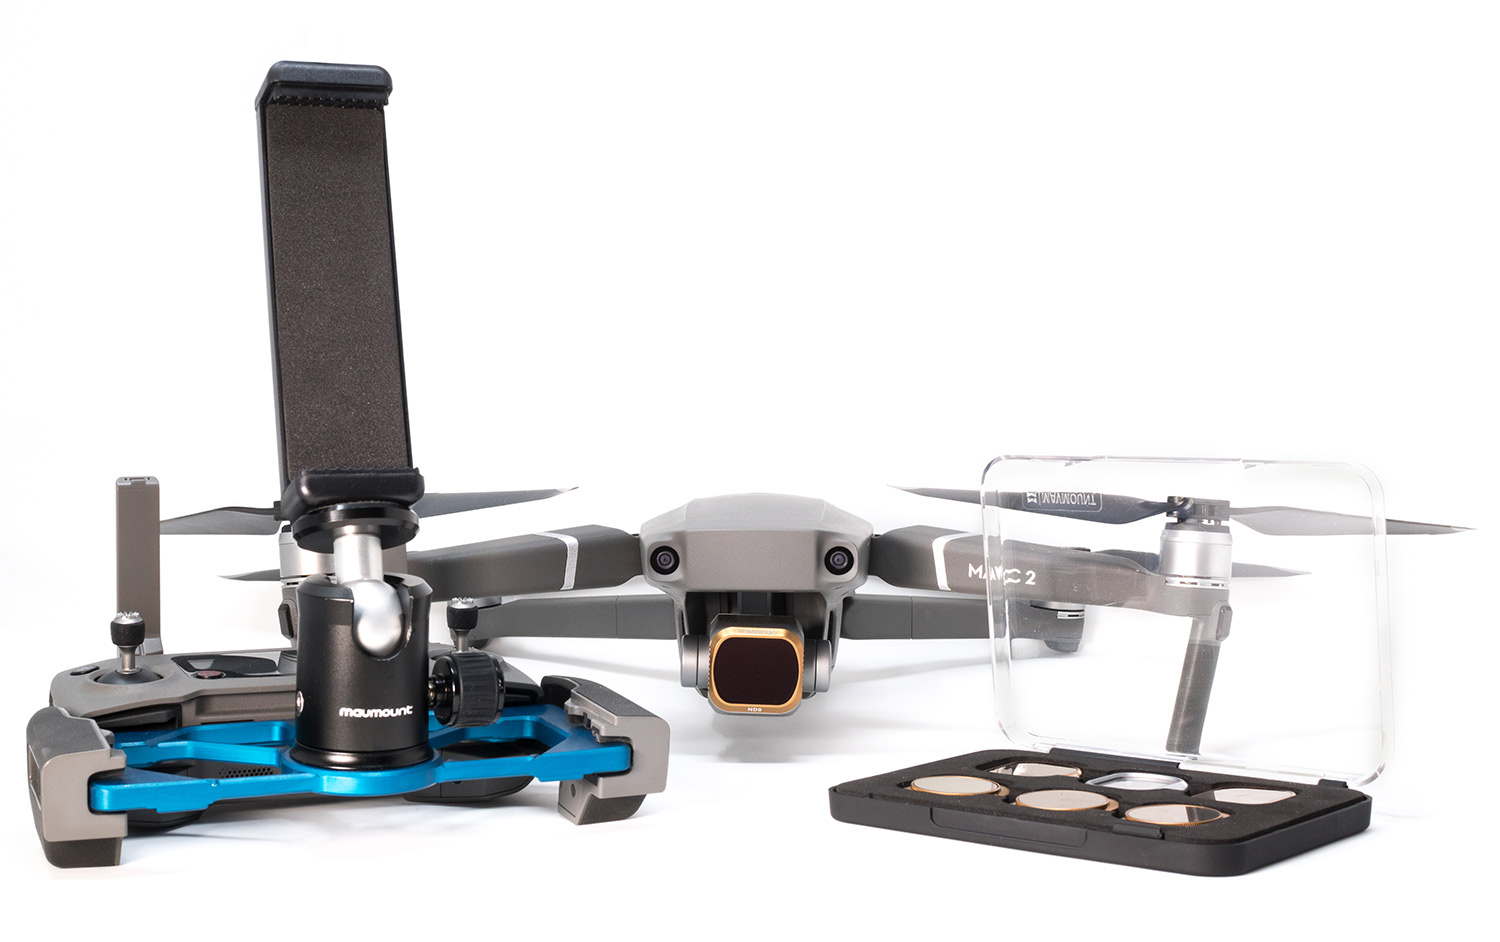
 www.mavmount.com
Second; I wanted space to carry at least 5 batteries for extended jobs (4 in the case and 1 on the MAV.)
www.mavmount.com
Second; I wanted space to carry at least 5 batteries for extended jobs (4 in the case and 1 on the MAV.)
Third; I wanted to carry a full size tablet along with the rig; so I modified the top piece of foam that goes into the lid and the bottom most piece that sits below the 2 die cut middle pieces. I cut out a long section the width of the opening I created in the die cut pieces; in the top and bottom pieces. Note: I left about 1/8' of foam in the top and bottom under the cutout. This thin section was reinforced greatly when I applied the Plasti-Dip and it does provide adequate protection for the tablet when it rides in the slot. Further Update: I have been carrying the iPad 9.7" face down over the drone and battery compartments. I found out that; even with the top and bottom cutouts added; the 9.7" still sticks up a little too far for comfort when closing the lid. The slot works perfectly with an iPad Mini or other sizes 9" or under.
Lastly; I wanted a couple extra compartments for extra SD card/small components storage and for various cables and chargers.
Have a look and let me know what you think and feel free to throw in any ideas of your own. This won't be the only case I'm going to customize.
Thanks;
Kyle


I saw a few ideas in the Mavic Pilots forum involving die-cut foam hard cases; using Plasti-Dip that looked good. I also found out that Apache cases from Harbor Freight were highly recommended and this is what I came up with.
Apache Watertight Hard Case from Harbor Freight (Construction Orange): With insider track membership/$53.00
4 cans of Black Matte Plasti-Dip @ $6/ea = $24.00
About 8hrs Construction/Paint time + 4 days for Plasti-Dip to cure (10 coats all around)
All in Cost including tax: $82.39
I'm totally impressed with both the end result of the die cut foam as well as the overall construction of the case. When I decided to customize my own foam insert I knew that I wanted to add a few spots for things that weren't provided for in the custom cut inserts that I looked at.
First; I wanted a space for my MavMount. These things are absolutely top end if you like to fly with a tablet instead of your phone. I use an iPad Pro 9.7" and I'm planning on purchasing an iPad Mini after I get my Mavic 2 Pro. They are designed by a guy in the Hollywood Film Industry to provide a stable and balanced platform between controller and tablet and they; in my opinion; outperform any other model on the market. If you're interested in checking them out; here's the link:
Front Page | Mavmount brand DJI Mavic Air 2, mavic Mini, Mavic 2, DJI Mavic Pro, Spark, AIR iPad Tablet Adapter
Watch our video on how the Mavmount™ device adapter for the new DJI Mavic Mini, Mavic 2, Mavic 1, Mavic Enterprise, Spark, and Mavic AIR works for your piloting. Just click play!
Third; I wanted to carry a full size tablet along with the rig; so I modified the top piece of foam that goes into the lid and the bottom most piece that sits below the 2 die cut middle pieces. I cut out a long section the width of the opening I created in the die cut pieces; in the top and bottom pieces. Note: I left about 1/8' of foam in the top and bottom under the cutout. This thin section was reinforced greatly when I applied the Plasti-Dip and it does provide adequate protection for the tablet when it rides in the slot. Further Update: I have been carrying the iPad 9.7" face down over the drone and battery compartments. I found out that; even with the top and bottom cutouts added; the 9.7" still sticks up a little too far for comfort when closing the lid. The slot works perfectly with an iPad Mini or other sizes 9" or under.
Lastly; I wanted a couple extra compartments for extra SD card/small components storage and for various cables and chargers.
Have a look and let me know what you think and feel free to throw in any ideas of your own. This won't be the only case I'm going to customize.
Thanks;
Kyle